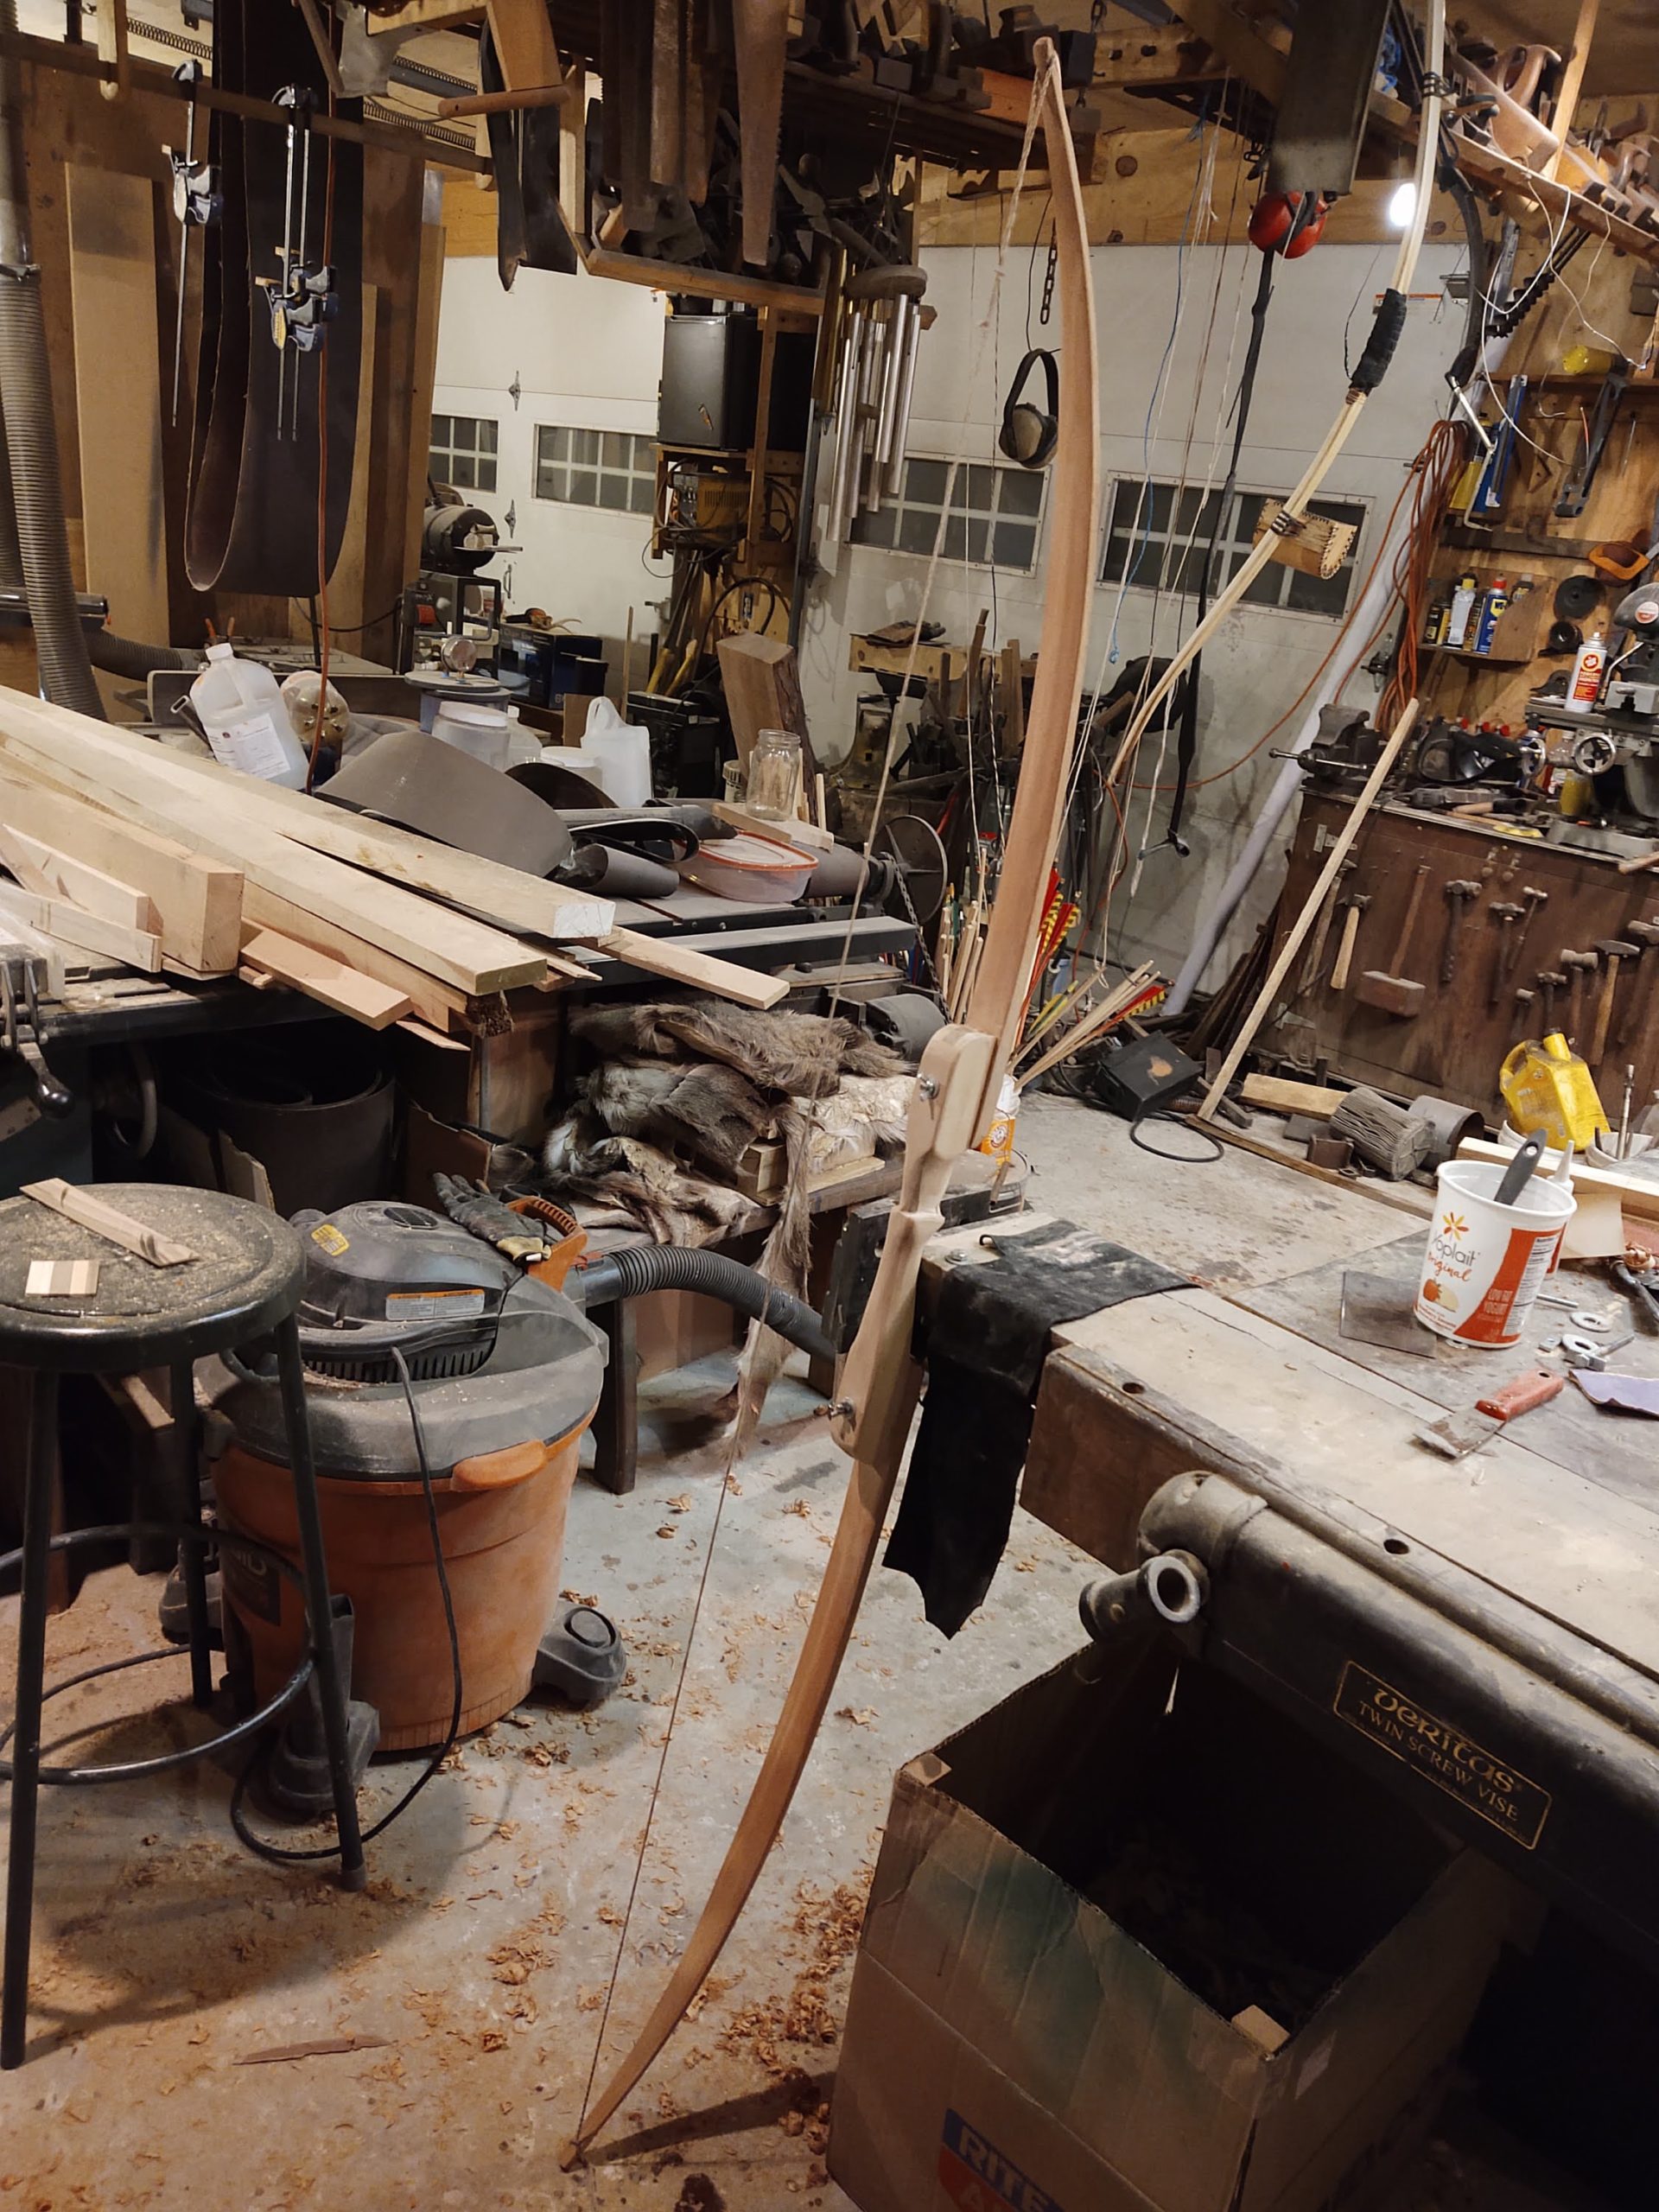
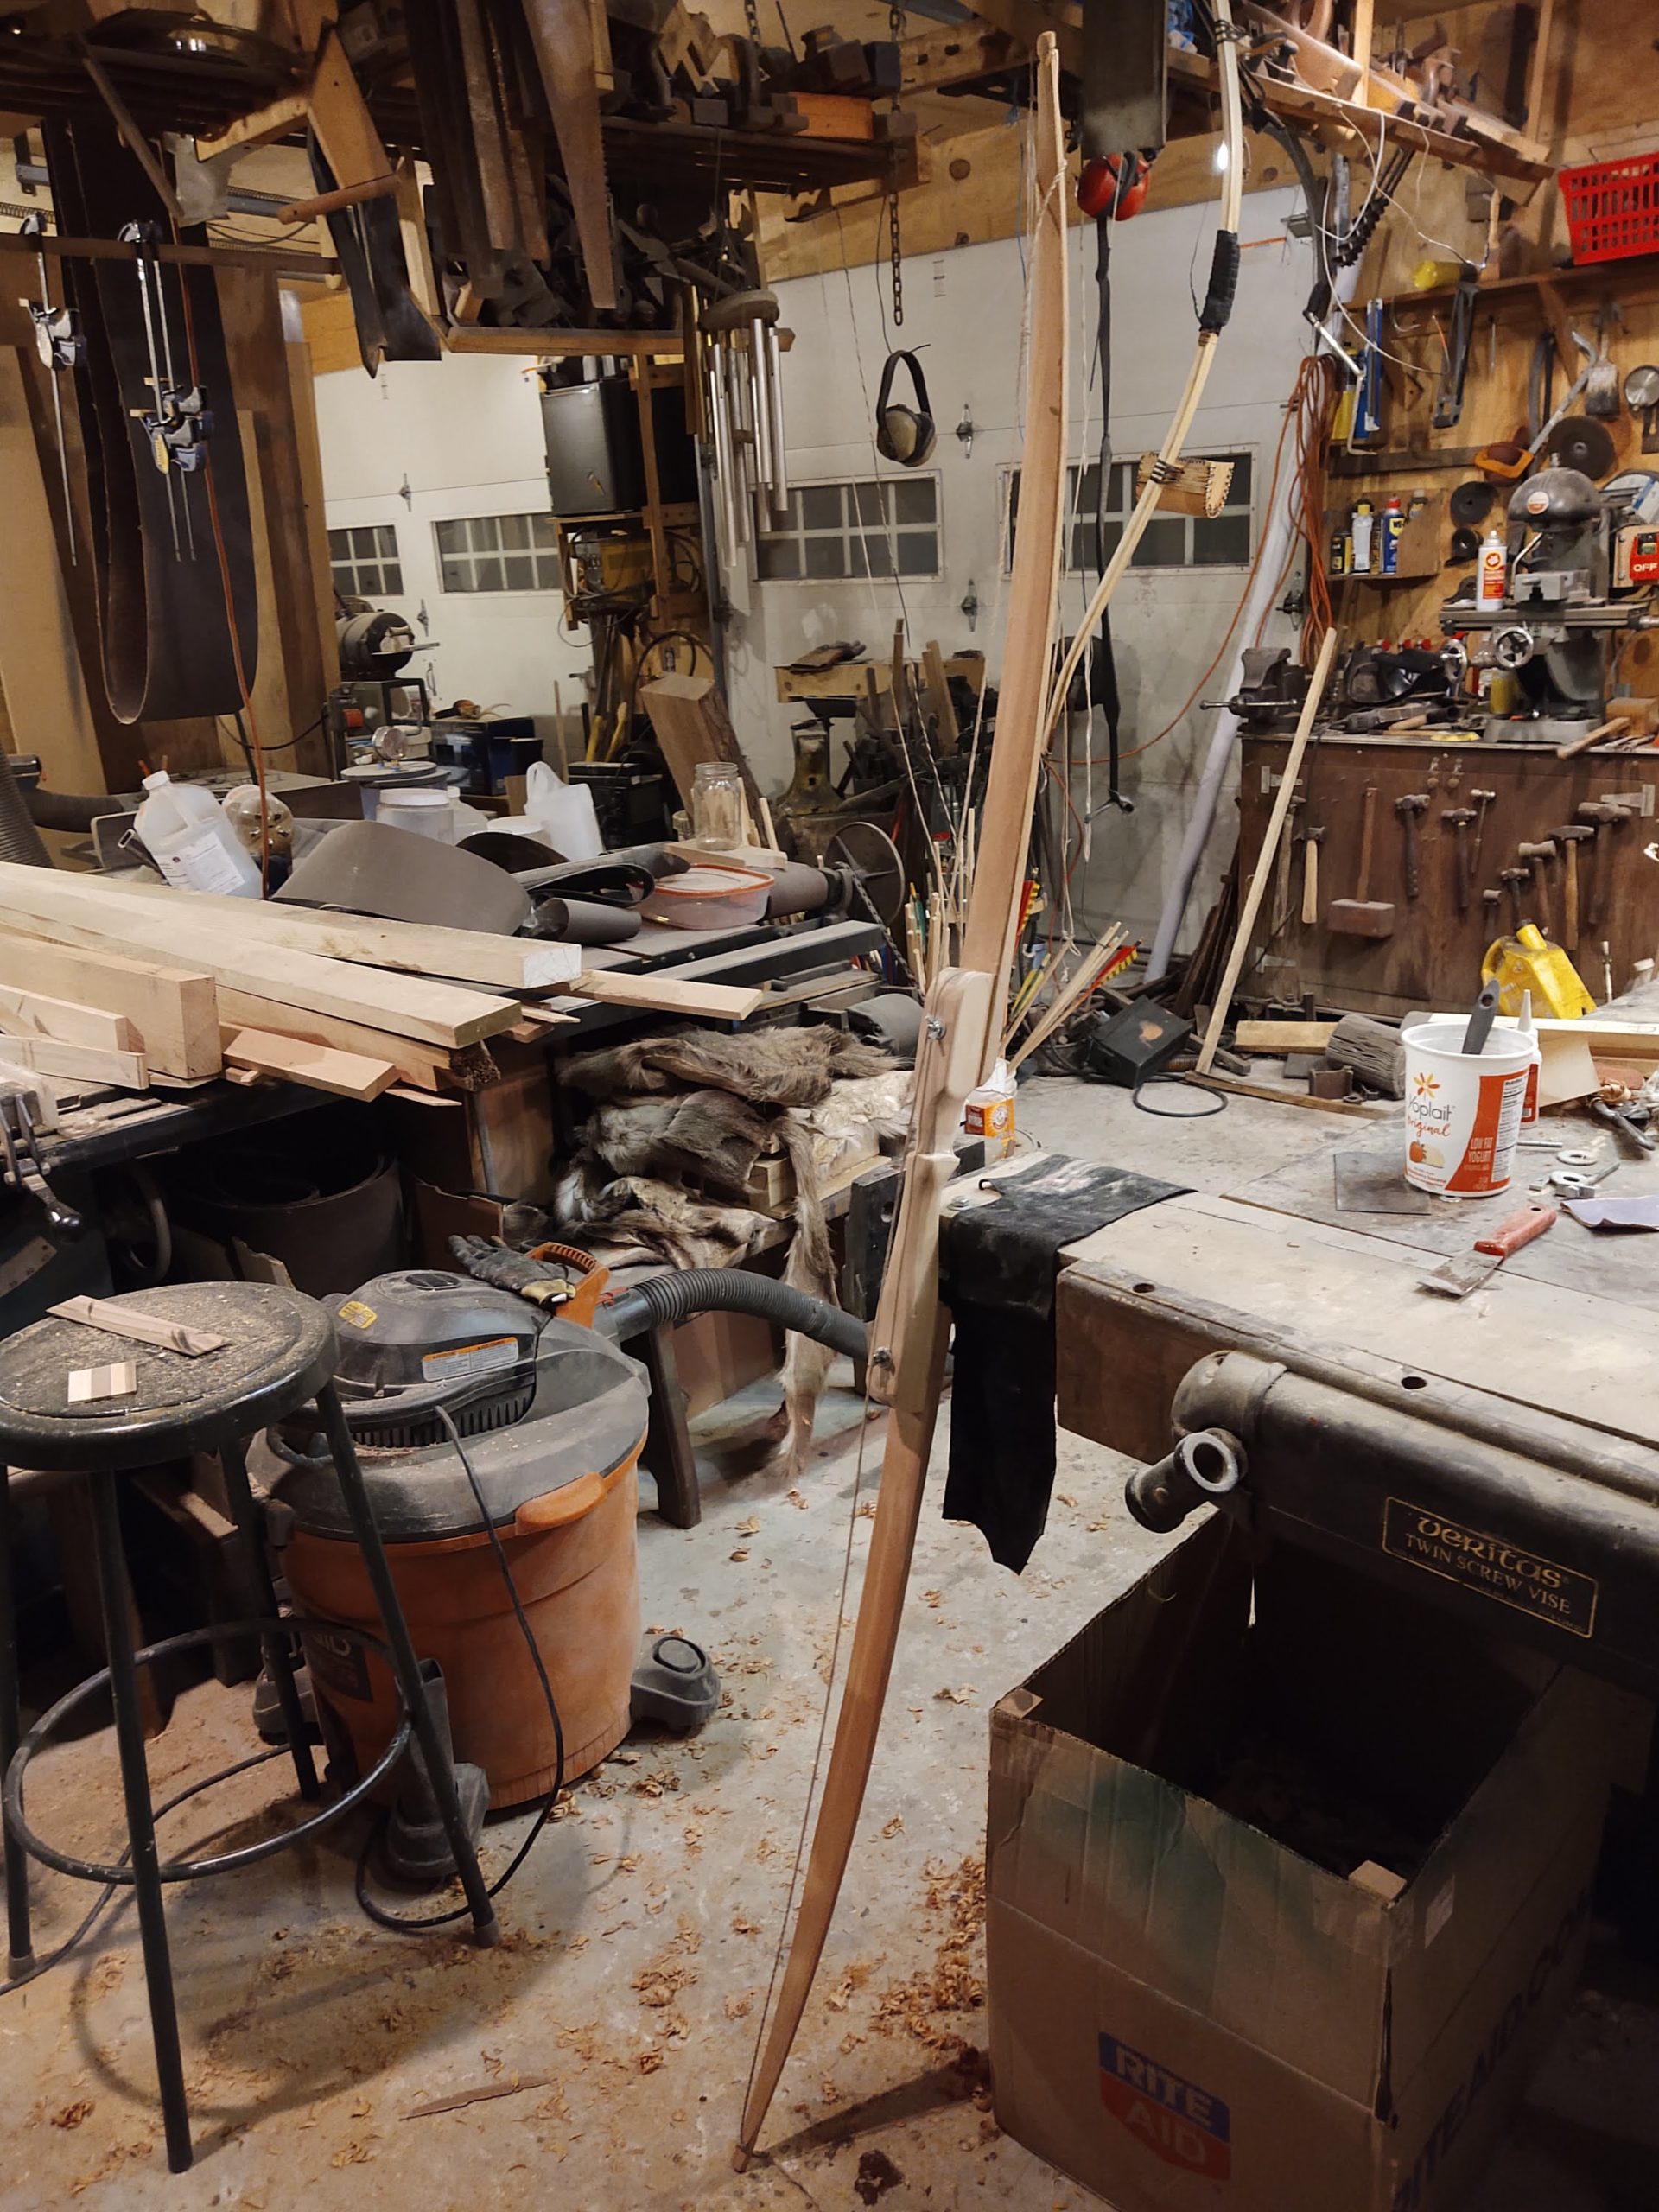
The thought of building a three piece take down bow has kept me awake many nights. I’ve tried a few designs I’ve thought of and they’ve failed. So back to dreaming I went.
Finally I think this design is going to work. I wanted something the average person, with average woodworking skills, and average homeowner or hobby woodworker would have the equipment for. And here it is.
I’m not sure why its design isn’t used more often. In my search I could not find a similar example. There are lots with fiberglass, but not many with all wood and none similar to this.
Tip to tip 73 1/4″
50# @ 28″
Limbs 1 7/8″ at widest
Limbs are White oak belly with ash backing
Limbs 34″ long with 4″ overlap for 30″ working limbs.
Riser 1 1/2″ wide, 16″ long multi wood laminate.
Bolts 1/4″ carriage bolts.
It’s three sections, a riser and two limbs. I will admit it’s no ILM, and although I do believe I can build different limbs, they’ll probably need some custom fitting, but I’m ok with that.
One of my previous problems was the bolt/pin design. My limbs would either break at the hole for the pin or they just never lined up right. I just didn’t have equipment sensitive enough to make multiple perfect holes, in the perfect spots that was perfectly centered.
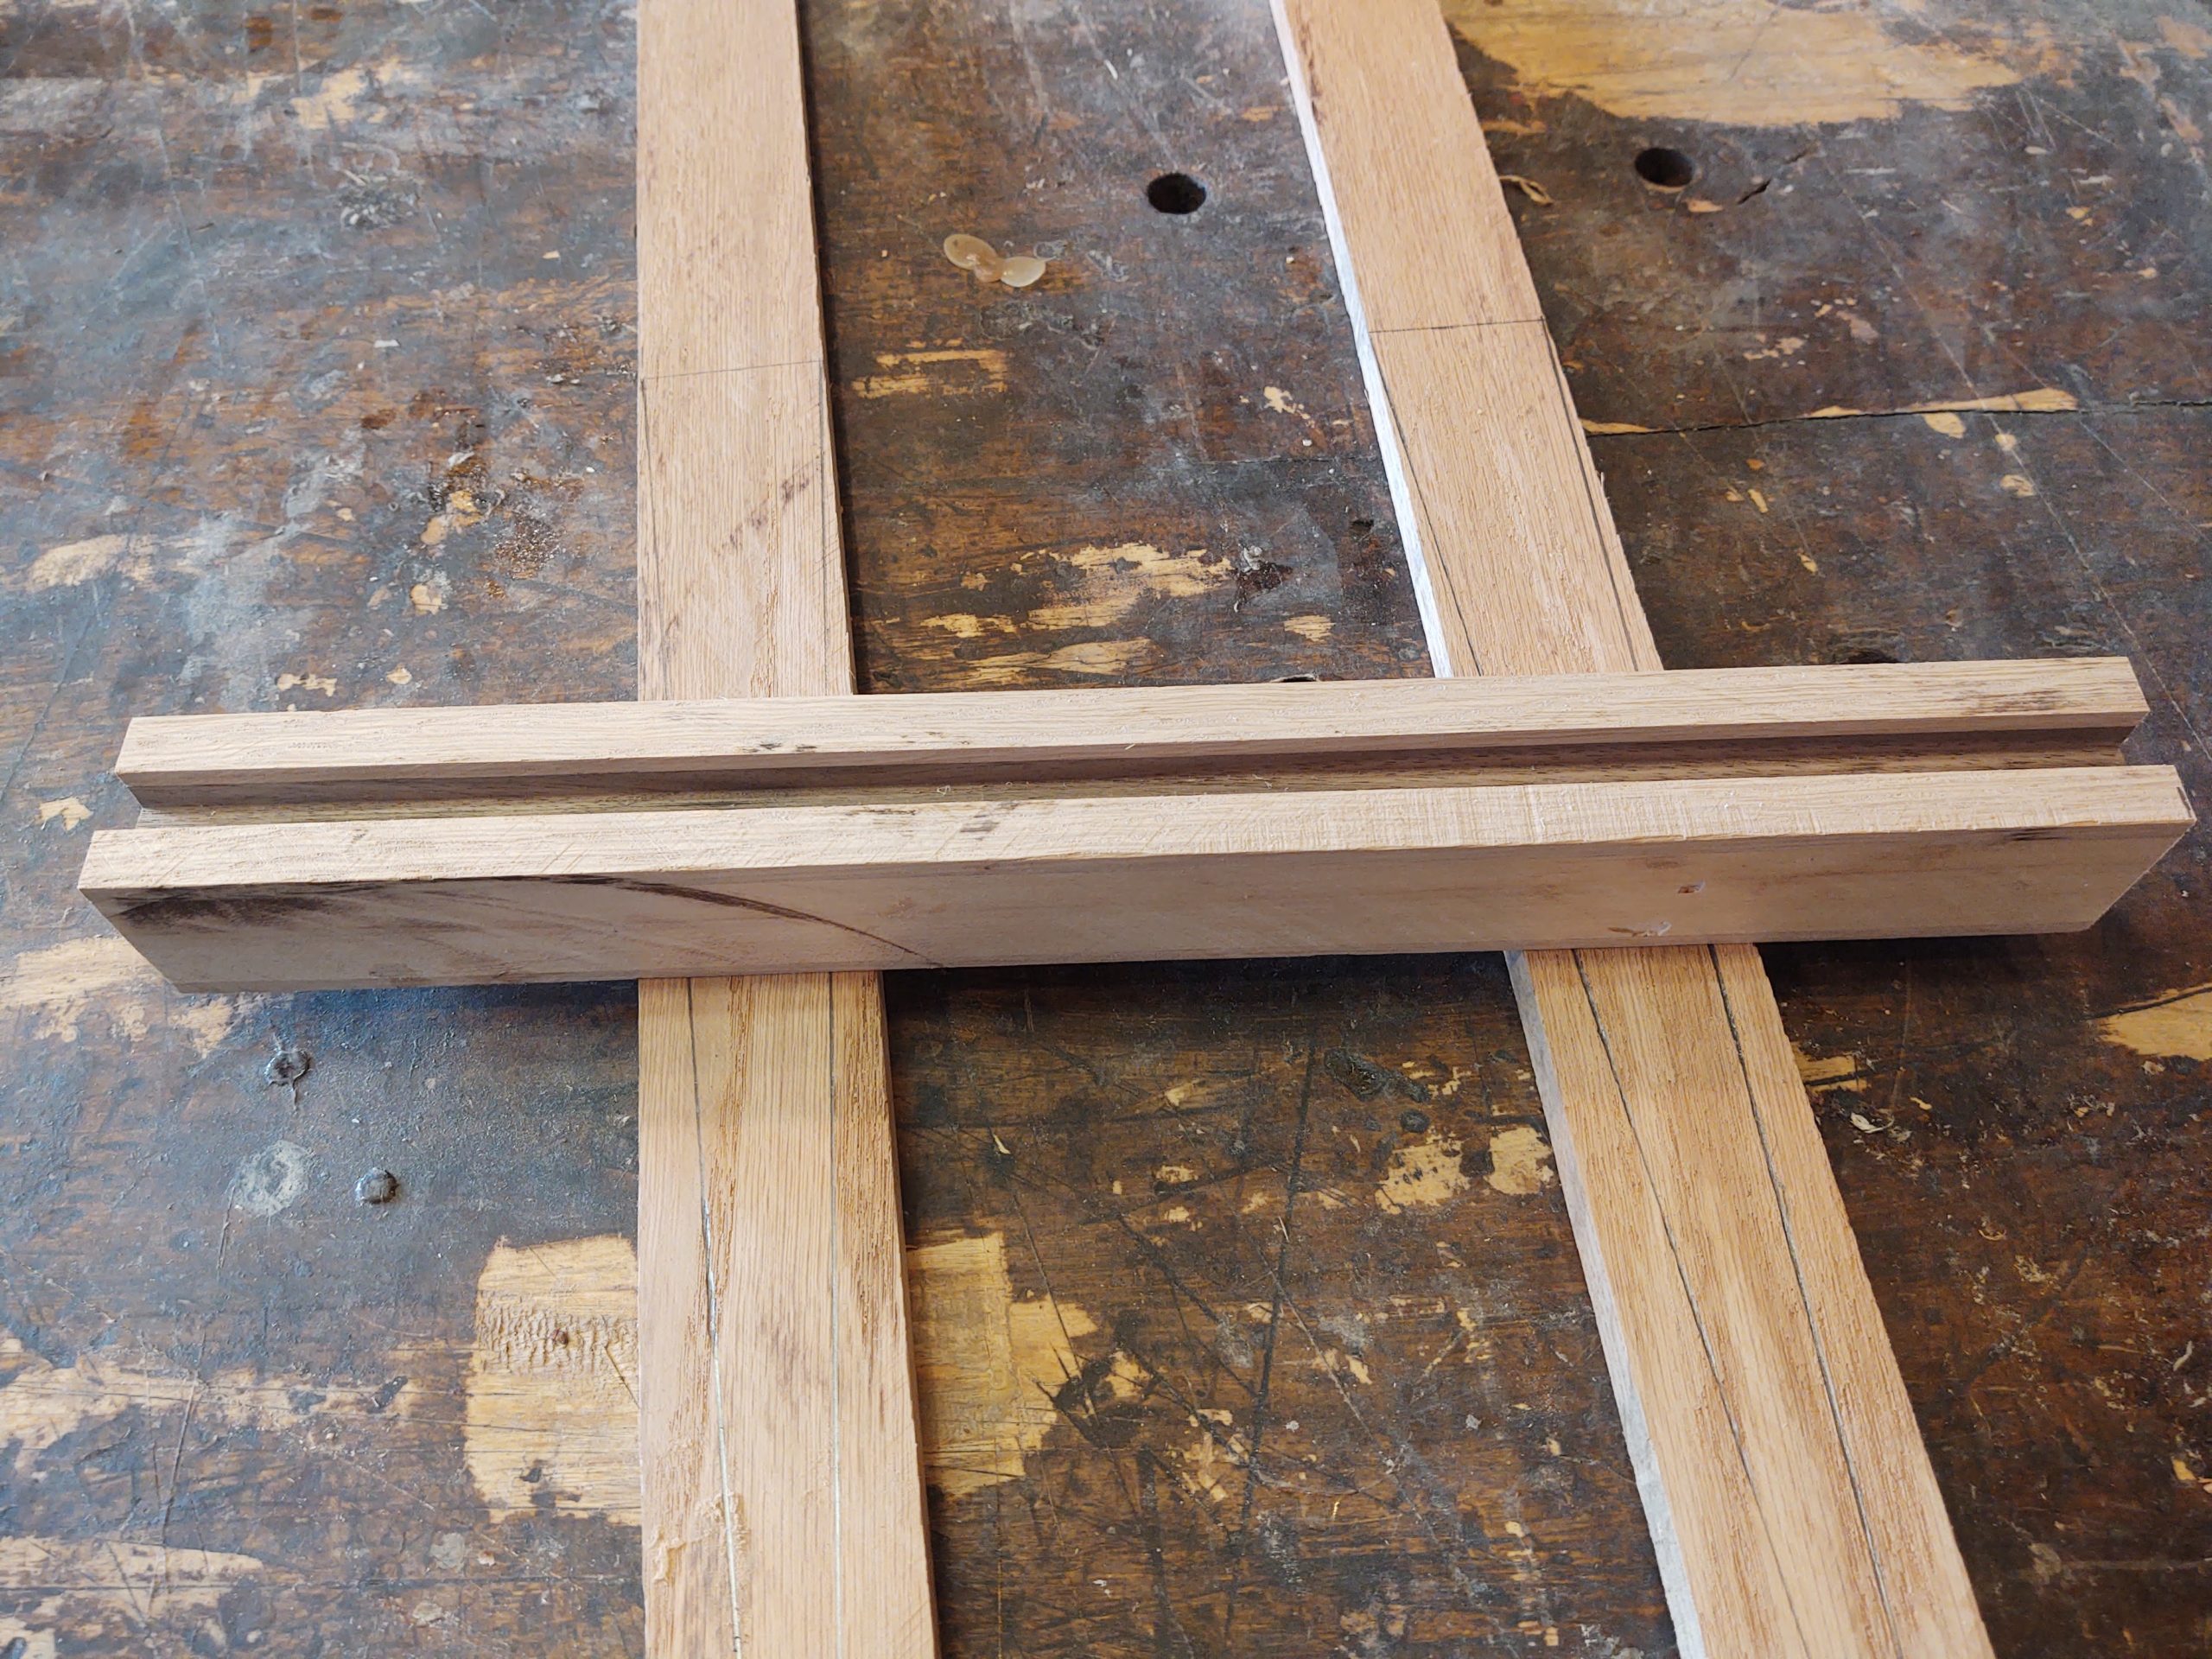
With this riser style, I cut the centering groove with the table saw. I don’t even use a dado blade, I just set the blade for center and flip the piece so it cuts both sides of the dado. Just keep widening and flipping until it’s exactly 1/2″. This keeps it exactly centered. I mic it to exactly 1/2″.
This riser is 16″ long. I will try for a short one in the future, but for now I figured it as 4″ on each end for the centering slats. Then a 5″ handle with a 3″ site window. I could of course have gone with a 4″ handle and 2″ site window, but I’ll keep experimenting. The nice thing I can make a new riser and keep using the same limbs if that’s what I wanted.
The centering slat is 4″ long and glued to the end of the limbs. On this bow the limbs are 34″ long. The gives me a 30″ working limb. I try to make sure the alignment slats are exactly centered (or as close as my tired eyes can make them.
You can make the limbs a tad wider and string through the center if you’re worried about the slats not being perfect. This would allow for adjustment should they be off a small bit.
I will try to recurve the limbs as well on a future build. This will give a bit more snap.
I’d like to say this started out to be a right hand left hand bow design, but the honest truth Is I cut the site window in the wrong side. So it was time for a DESIGN CHANGE! It’s amazing how easy that is to do! I didn’t even notice it until I was going to shot it, so I decided to see if it would hold with both sides cut. Luckily it did.
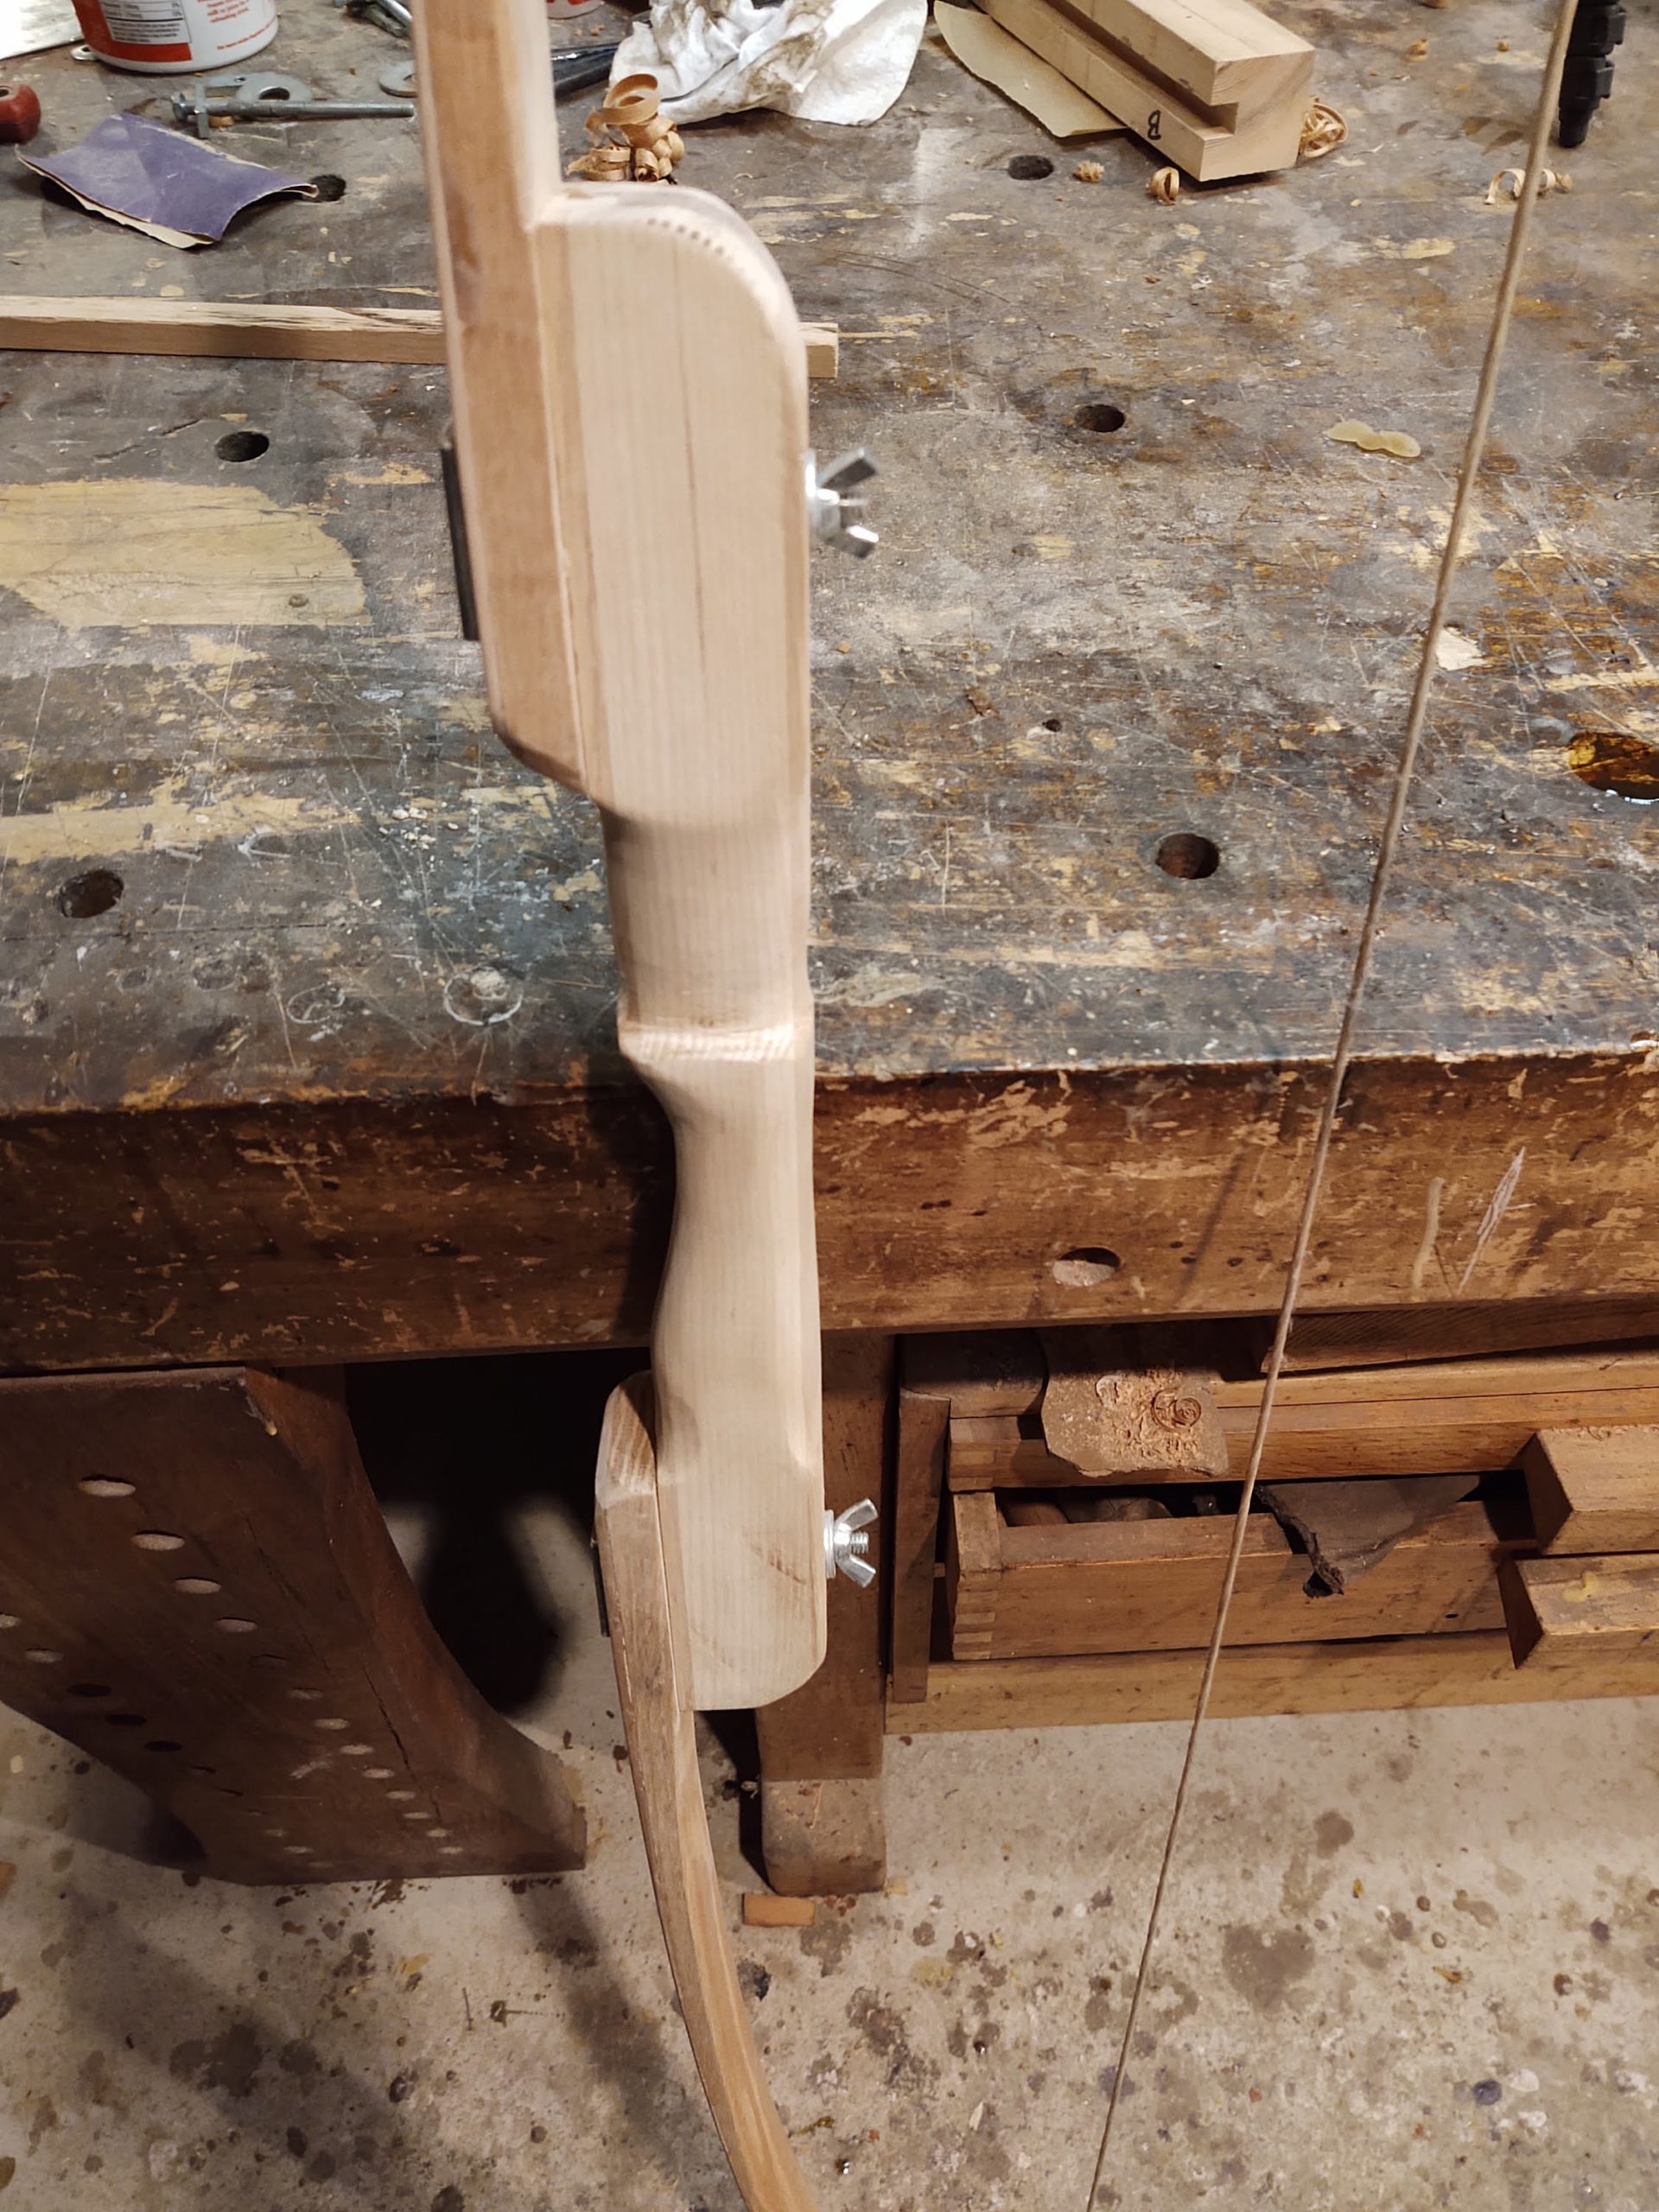
I started with an 1 1/2″ x 1 1/2″ x16″ laminated riser block then the slot was cut for the alignment slats. The center was later filled in with another piece to close it up. I suppose you could use a stop dado, but I didn’t see the advantage and it was just a lot more work.
Here I’m making sure the alignment slats are centered. The number doesn’t matter as long as both sides are the same.


Here I’ve marked the center of the alignment strips and then drill a small pilot hole.

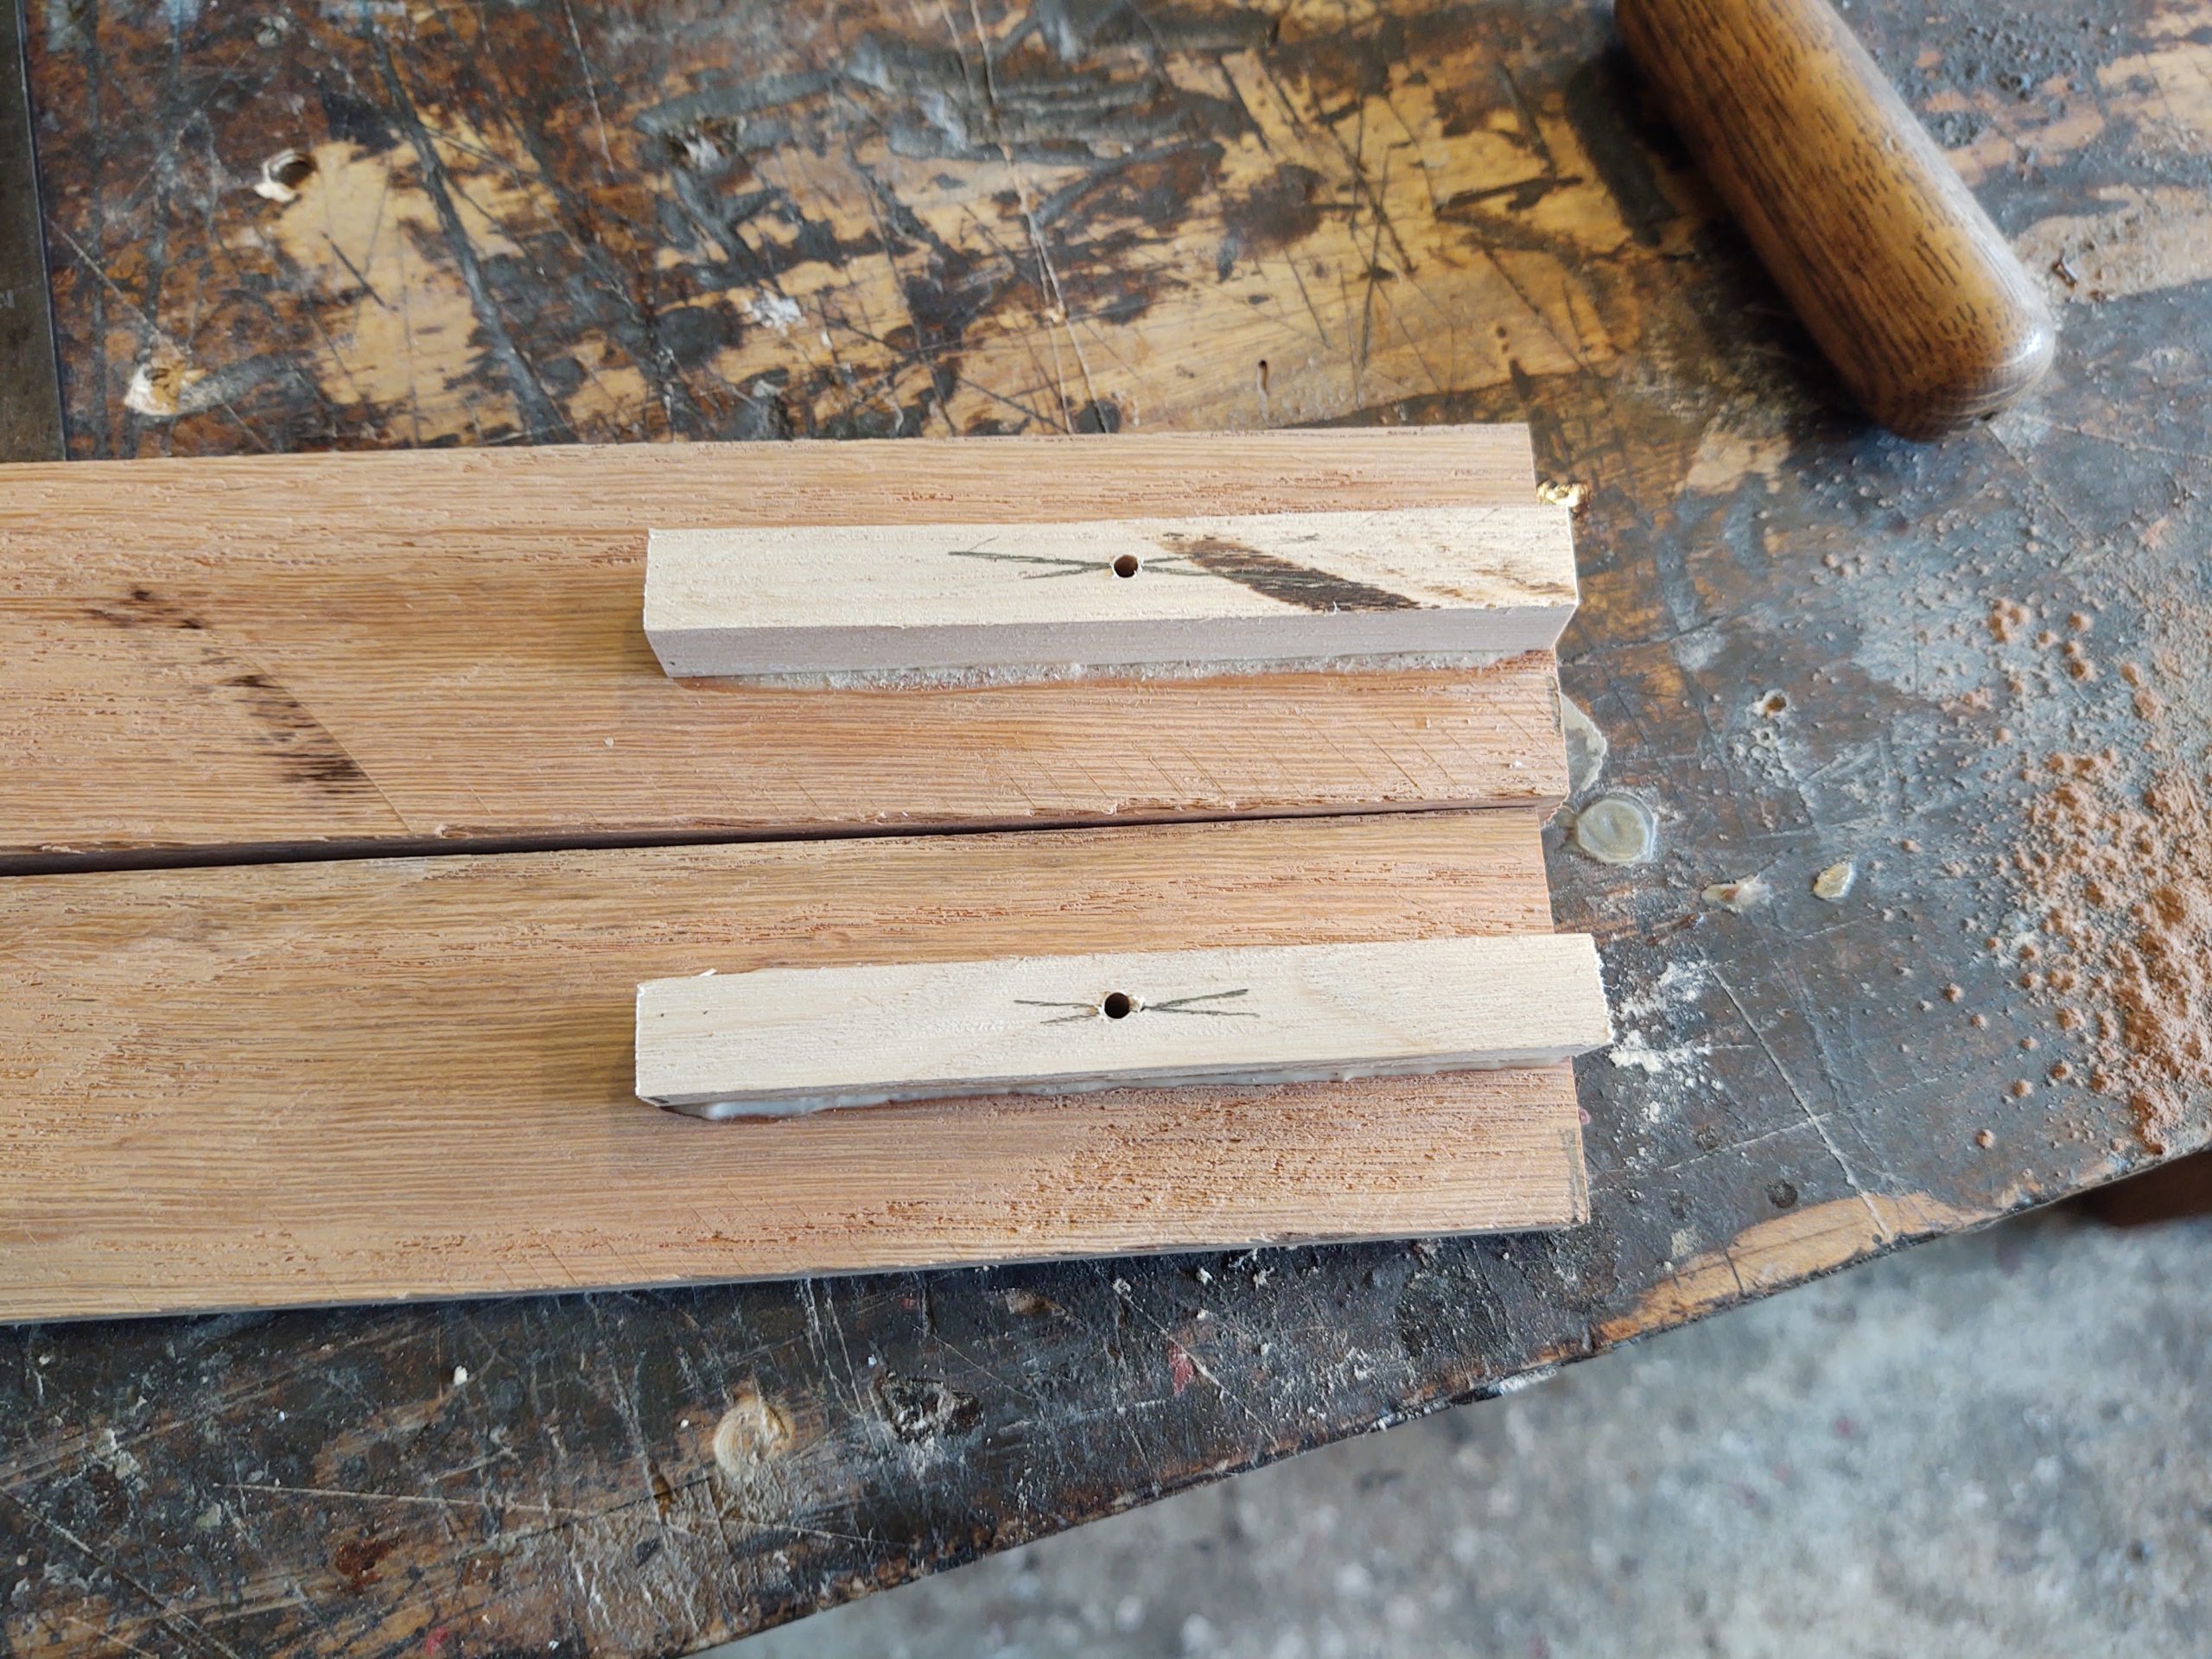
Then the alignment slots where slid into the slot exactly where it was supposed to be and each limb was drilled with a 1/4″ hole down through the riser. The limbs and risers were marked to ensure they always went back together the same. I used “A” and “B” once I really didn’t know what would be top and bottom yet.

Limbs were tapered from 15″ (center of the working limb) to 1\2″ at the tip.

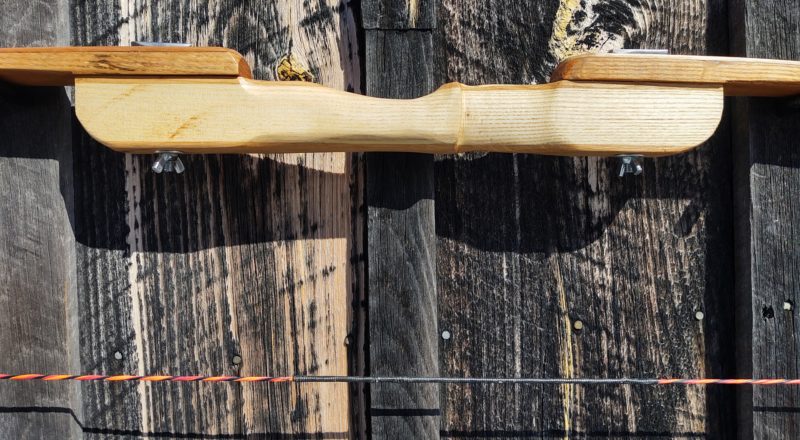
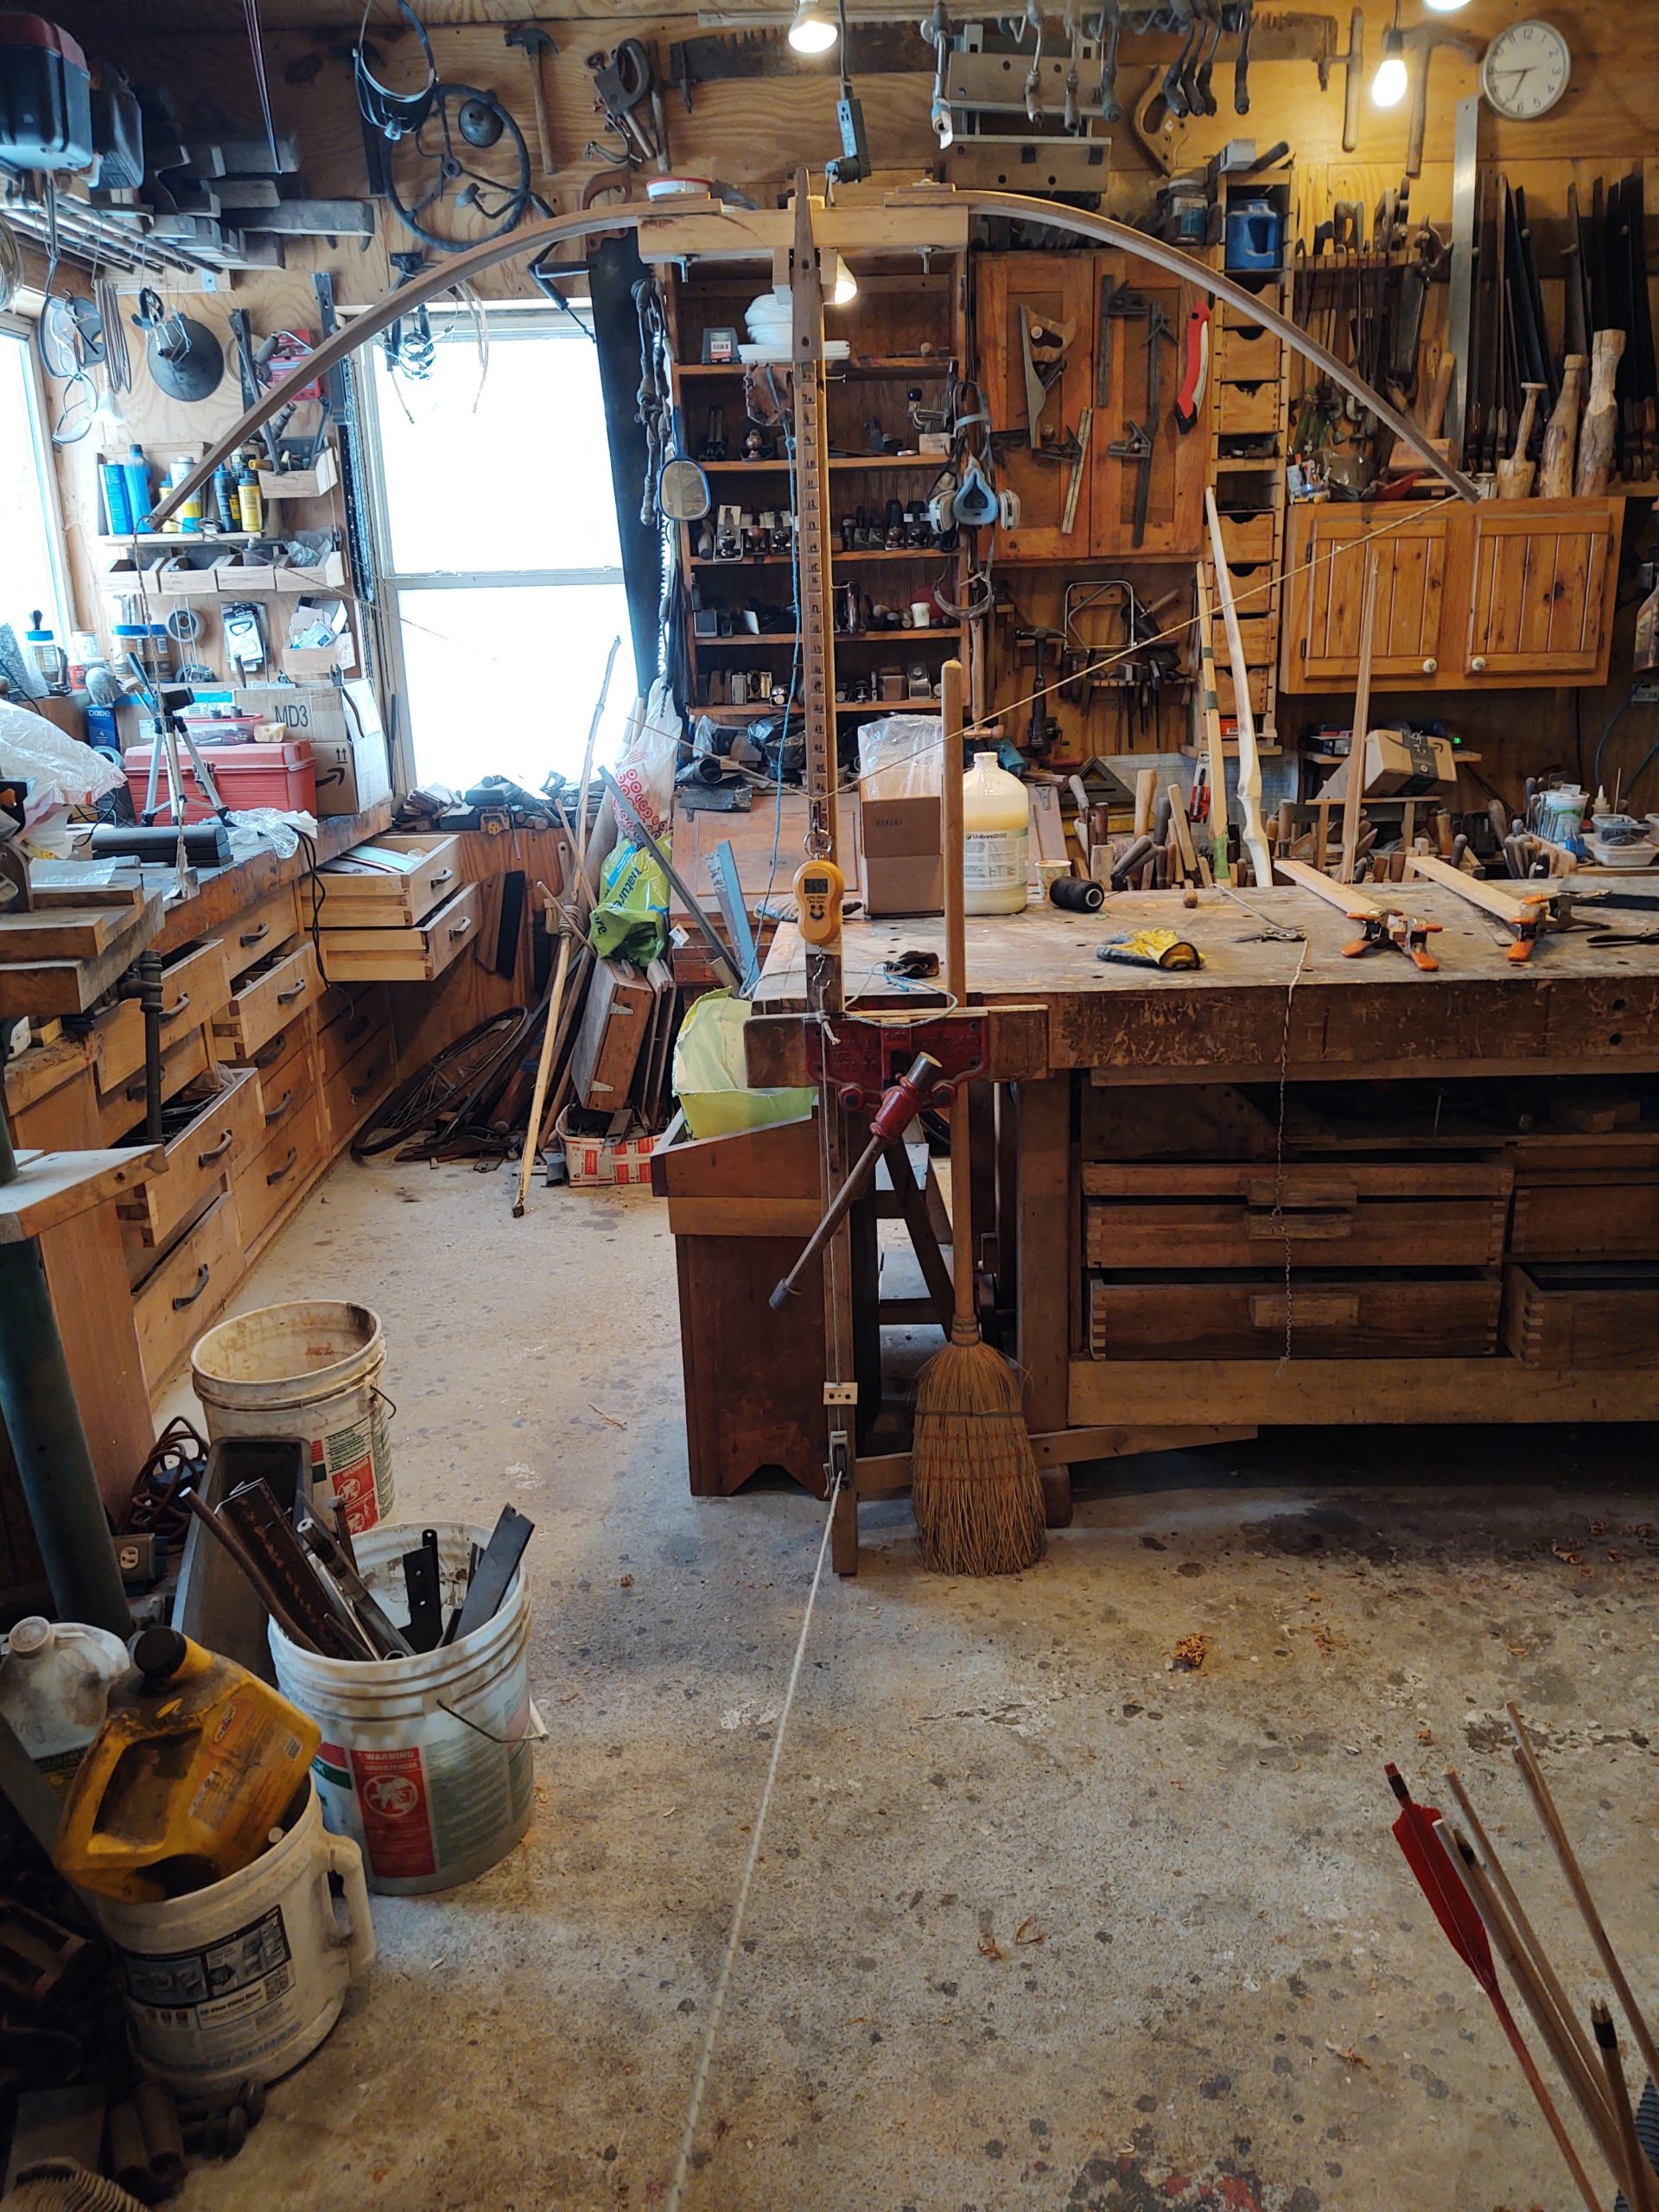
The bow was bolted together and tillered as usual. I made two large square washers from a piece of steel and found two carriage bolts to bolt the bow together.

Then this happened. I think I know what happened though. I don’t think the carriage bolt was seated in the metal plate, and it seated itself at full draw, which loosened the limb and pow! It would be like smacking it on the edge of a table.

So I made a new limb and backed both of them with an 1/8″ ash strip. I retillered exactly as before. I probably didn’t need to back it, but I figured the added insurance was a good thing.
Here you see the square washers and carriage bolts


I’ve got a set of limbs glues up with a tapered strip in the center to try and I’ll need to make some better looking wing nuts.


________________
As an Amazon associate, we earn income from qualifying purchases when you click on a link. Your link clicks help us fund our website.________________