
I decided to try making some bowls and/or trays with my router. Here is how I went about it……
I made a base for the router out of some scraps I had laying around the shop. Note most the base is made from some left over Pergo flooring. I wound up adding a section on each side to make it bigger. This process makes a lot of sawdust and if the base is big enough to cover the routed opening, most of the sawdust and chips goes up the dust collection hose. Otherwise it is a huge mess. And it is a huge mess very quickly.
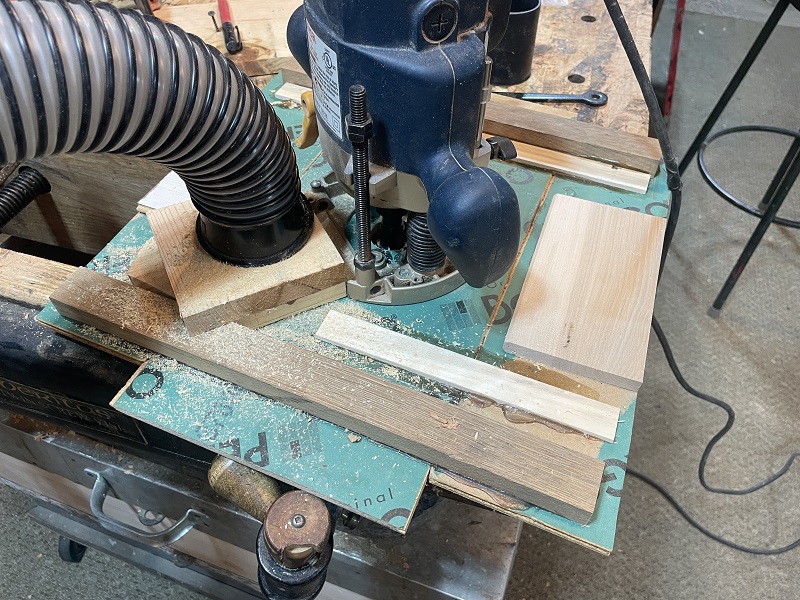
The strips of wood running across the base holds the Pergo sections together. Obviously a nice big piece of Clear Acrylic Sheeting would be nice, but I did not have one and I wanted to make sure I wanted to keep making these before I made that kind of investment. I actually don’t think it would make a big difference now that I’ve used it this way. I just turn the router off and lift it up to see under it every once in a while. It works fine.
I purchased this router bit off Amazon along with this extension. They both work well.
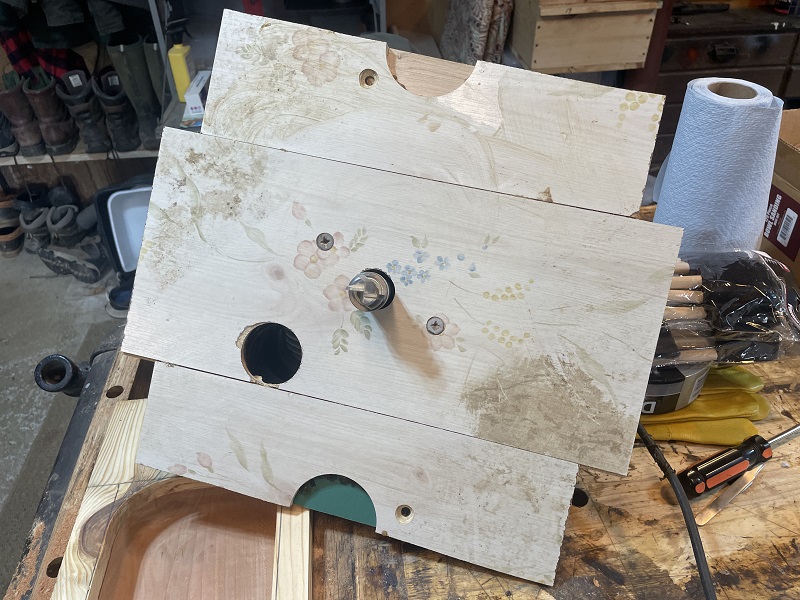
Next I made some templates out of 3/4″ pine. Again, probably not the best material for a router template but it works and I had the pine and it cost me next to nothing.
Just remember to make your bowl stock long enough to screw the templates to the blank and have room to cut it off after if you make the templates this way. You could also add a piece along side of the template so it drops down the side of the blank and use clamps. I haven’t tried that approach. It would save some lumber if that is a concern.
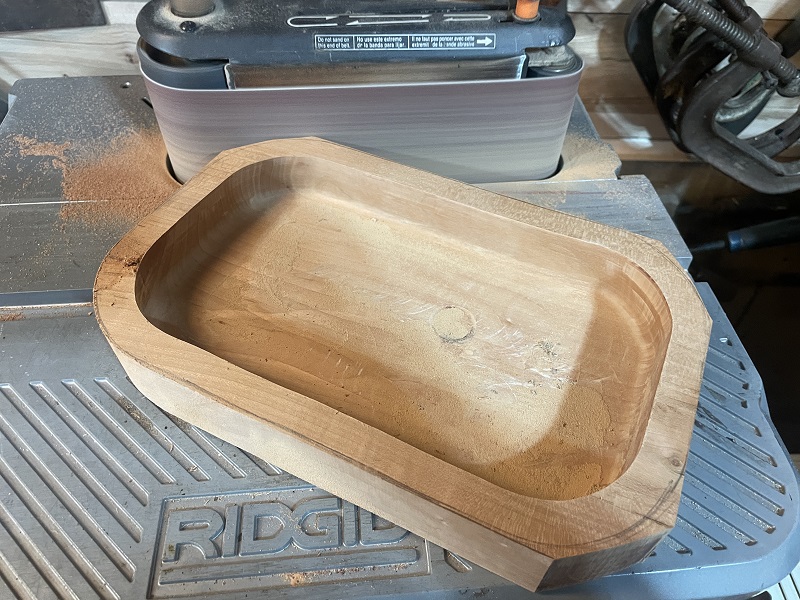
The first one was a piece of 2″ x 6″ cherry. I had milled this cherry several years ago.
Just fasten the template to the blank with screws. I clamp the blank in my vise for routing.

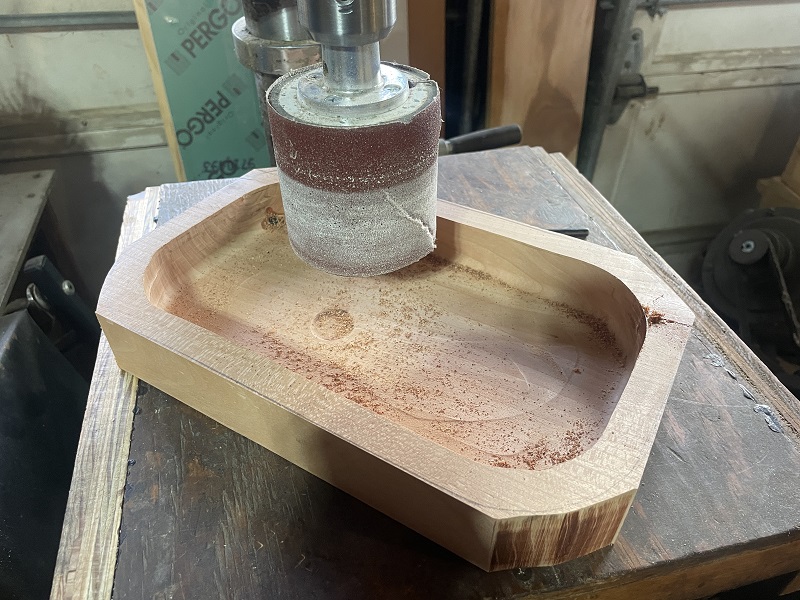
I like to route slow, only taking a small cut each pass. I plunge into the blank and route around the temple first, then just move the router back and forth until the layer is routed. Again, I shut the router off and raise it to check. You also want to make sure your dust collection is getting all the debris. I actually forgot to turn my dust collector on at one point and it will literally stop you from moving the router it will pack in so hard.
Set your depth stop to the max depth for the bowl you are making so you do not go deeper than you want to.
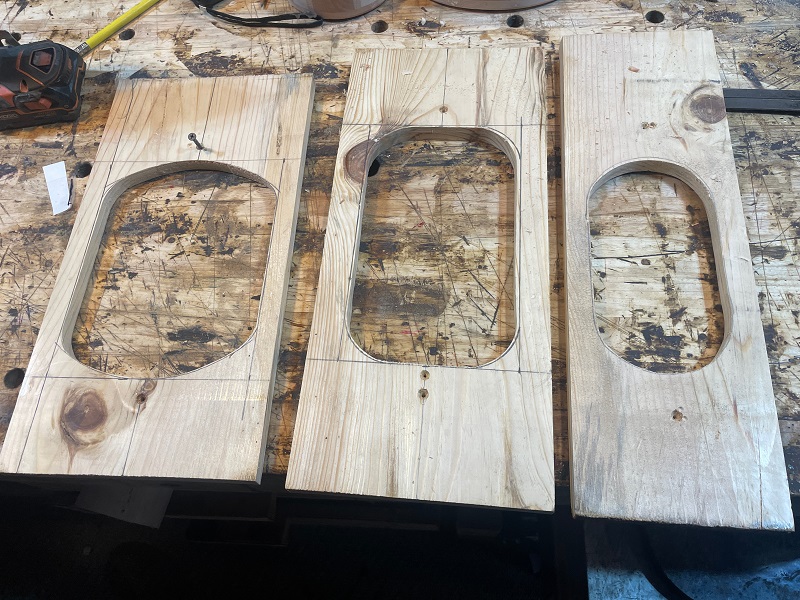
When you have it completely routed, remove the template.

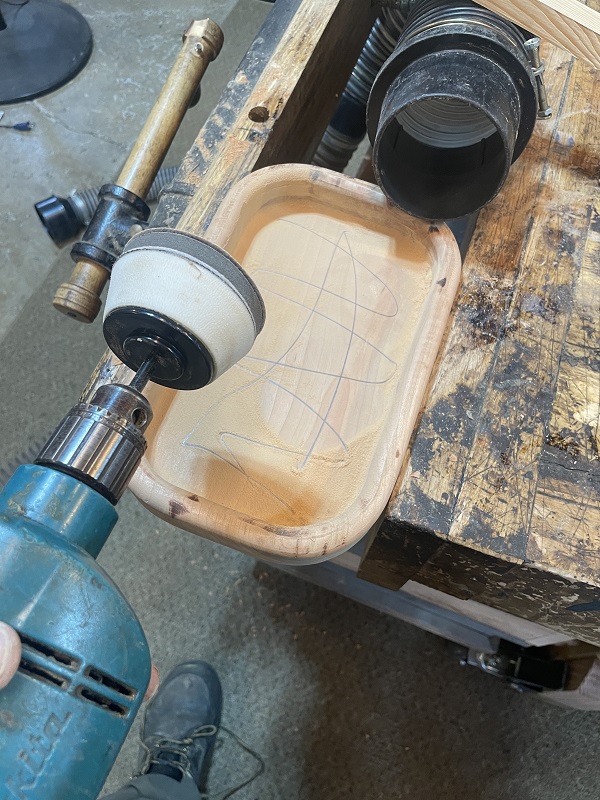
Mark the outside of your bowl as you want it.

Now cut to the lines. I use the table saw and the band saw, but use what tools you have, Get it as close as you can and you’re ready for sanding. Here the belt sander with some 40 grit gets it close, then some 150 grit to remove the 40 grit scratches. I did not have any higher grit for the belt sander so the orbital sander will have to take care of the rest.
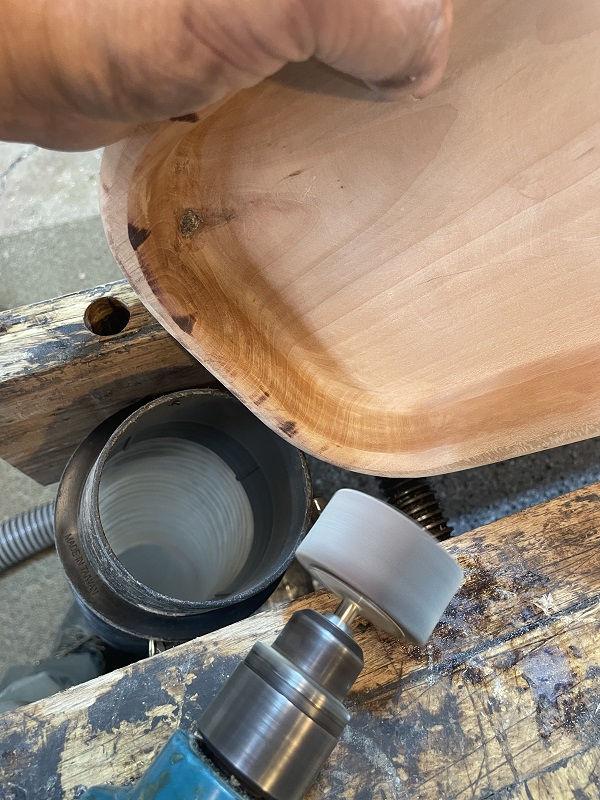
I’ll show what I used, but use the sanding equipment you have on hand.
I then hit the routing table to round all edges before continuing the sanding.
I also had some of these flab disc. They helped a little.

I’ve wanted to try these so I went ahead and ordered a set.


The bowls came out pretty decent. They are however time consuming. It was a fun project but I don’t see myself making many more.
________________
As an Amazon associate, we earn income from qualifying purchases when you click on a link. Your link clicks help us fund our website.________________